£0.00
- Stairparts
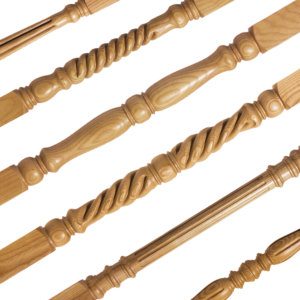 Spindles
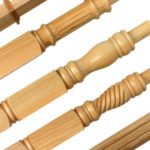 Newel Posts
- Handrails
Explore a wide range of handrails for any staircase, from solid oak mopstick handrails to white primed bannisters that are ready to paint and style exactly as you’d like. Shop online for fast delivery or visit our factory outlet to see our full range in person. With options in a variety of styles, finishes and sizes, it’s easy to find the perfect handrail to complement all styles of staircases, including metal and glass.
- Baserails
Complete your staircase with high-quality baserails, available in oak, pine and white primed. Designed to suit a variety of staircase types, our baserails provide a stable foundation for your spindles or glass panels, so you’re left with a durable yet elegant staircase that’s ready to use straight away. Shop our baserails below and take advantage of next-day delivery, so you can get started on your project without delay.
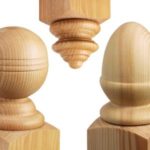 Newel Caps
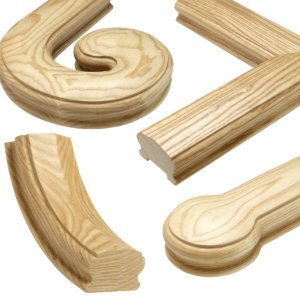 Handrail Parts
- Stair Cladding
Transform your staircase with our premium range of stair cladding solutions, designed to combine style, durability and effortless installation. From solid oak treads in a variety of thicknesses to versatile options with reversible riser cladding, our collection offers something for every home. Whether you’re looking for sleek veneer strips, oak-faced treads with reversible risers or solid oak read cladding, our high-quality products provide an elegant finish that improves the look and feel of any staircase. To complete your staircase renovation, extender treads can be used to cover mid landings, larger steps and small top landings. Shop now for fast UK delivery and browse the full range of stair treads, handrails, baserails and more.
- Stair Trims
Stair trims are a simple yet essential addition to any staircase. Designed to create clean, defined edges and neat transitions between surfaces, they provide a professional finish while helping to refine the overall look of your stairs. Available in a range of styles, finishes and materials, stair trims are ideal for both new staircases and refurbishments, whether you’re finishing landings, covering joints or adding the final touches to cladding. Shop online today and get everything you need for your staircase including cladding, baserails and more.
 Stair Accessories
- Categories
- Timber Range
- Metal Range
- Glass Range
Our glass balustrades create a light and airy staircase design that’s as safe and durable as it is stylish. Crafted from high-quality toughened glass and paired with precision-engineered fixings, each component ensures a secure, long-lasting installation. Ideal for open-plan homes, commercial spaces or loft-style interiors, our range of glass panels and fittings allows you to create a beautiful staircase that lasts years to come. Shop our glass stair parts below, or shop our glass grooved handrails suitable for fitting glass panels.
- Outdoor Range
- White Primed Range
Our white primed stair parts are designed for convenience and versatility, providing a smooth, ready-to-paint finish that saves time and effort. Prepared ready for customers to finish with any paint of their choice, our range includes spindles, handrails and newel posts, newel caps and baserails, all made to exacting standards for consistency and durability. Ideal for homeowners and professionals alike, these components help you build a tailored staircase design that can be finished to perfectly match your décor. Shop all of our white primed stair products below or visit our showroom in County Durham.
- Clearance
- Staircase Builder
- Advice & Planning
- Gallery
- FAQs
- Contact Us
- Delivery

Manage Consent
To provide the best experiences, we use technologies like cookies to store and/or access device information. Consenting to these technologies will allow us to process data such as browsing behavior or unique IDs on this site. Not consenting or withdrawing consent, may adversely affect certain features and functions.
Functional Always active
The technical storage or access is strictly necessary for the legitimate purpose of enabling the use of a specific service explicitly requested by the subscriber or user, or for the sole purpose of carrying out the transmission of a communication over an electronic communications network.
Preferences
The technical storage or access is necessary for the legitimate purpose of storing preferences that are not requested by the subscriber or user.
Statistics
The technical storage or access that is used exclusively for statistical purposes.
The technical storage or access that is used exclusively for anonymous statistical purposes. Without a subpoena, voluntary compliance on the part of your Internet Service Provider, or additional records from a third party, information stored or retrieved for this purpose alone cannot usually be used to identify you.
Marketing
The technical storage or access is required to create user profiles to send advertising, or to track the user on a website or across several websites for similar marketing purposes.